
Overview
Deep cleaning your kitchen is essential for health and hygiene. Prepare by gathering supplies like a quality multi-surface cleaner, microfiber cloths, and sponges. Follow a step-by-step process: declutter, dust high surfaces, clean appliances, and sanitize countertops and floors. Don’t forget to organize your pantry and clean light fixtures. Maintain cleanliness with daily wipes and regular decluttering. Enjoy your sparkling kitchen!
Table of Contents
- Getting Prepared for Your Deep Cleaning Session
- Gather Your Supplies
- Create a Cleaning Schedule
- Step-by-Step Deep Cleaning Process
- Declutter and Organize
- Dust and Clean High Surfaces
- Deep Clean Your Appliances
- Surface Cleaning and Sanitization
- Countertops and Backsplashes
- Cabinets and Drawers
- Sink and Faucets
- Floor Cleaning Techniques
- Final Touches to Your Deep Clean
- Check Your Pantry and Organize
- Clean Light Fixtures and Vents
- Maintain Your Clean Space
- Celebrating Your Sparkling Kitchen
Key Takeaways
- Preparation is Key: Gather essential cleaning supplies such as a multi-surface cleaner, microfiber cloths, sponges, and trash bags before starting.
- Create a Cleaning Schedule: Allocate sufficient time for each area and consider breaking the task into multiple days to avoid feeling overwhelmed.
- Declutter First: Clear surfaces and remove items that don’t belong, discarding expired food and donating unused items.
- Deep Clean Appliances: Focus on cleaning the refrigerator, oven, microwave, and dishwasher using appropriate methods to ensure they are sanitized.
- Surface Cleaning: Use a multi-surface cleaner on countertops, backsplashes, cabinets, and sinks for effective cleaning and sanitization.
- Floor Care: Mop floors according to their type—tile, hardwood, or vinyl—using suitable cleaning solutions to maintain cleanliness.
- Maintain Your Clean Space: Implement daily wipe-downs, regular decluttering, and schedule periodic deep cleans to keep your kitchen pristine.
Deep cleaning your kitchen might seem like a daunting task, but it’s essential for the health and hygiene of your home. A sparkling clean kitchen not only improves the overall look of your space but also contributes to a safer cooking environment. In this comprehensive guide, we will explore the best practices for deep cleaning your kitchen, highlighting the significance of using a quality multi-surface cleaner to make the process efficient and effective.
Getting Prepared for Your Deep Cleaning Session
Before diving into deep cleaning your kitchen, preparation is key. Here’s how to get started:
Gather Your Supplies
Having the right tools and materials on hand can make a world of difference. Consider including the following items in your cleaning arsenal:
- High-quality multi-surface cleaner
- Microfiber cloths
- Sponges and scrub brushes
- A mop and bucket
- Rubber gloves
- Baking soda and vinegar (for tough stains)
- A vacuum cleaner or broom
- Trash bags for decluttering
Create a Cleaning Schedule
Plan your cleaning session on a day when you won’t be rushed. Allocate sufficient time for each area, and maybe even break it down over a couple of days if needed. This approach allows you not to feel overwhelmed.
Step-by-Step Deep Cleaning Process
Once you’re prepared, it's time to get your kitchen sparkling clean. Follow these steps to tackle your deep cleaning with ease:
Declutter and Organize
Start by clearing countertops, tables, and any visible surfaces. Remove items that don’t belong in the kitchen and sort through your belongings. This is an excellent time to throw away expired food items and donate anything you no longer use.
Dust and Clean High Surfaces
Using a microfiber cloth, dust off high surfaces like cabinets, shelves, and the top of the refrigerator. This prevents dust from falling on freshly cleaned areas later on.
Deep Clean Your Appliances
Appliances often gather grime and dirt. Here’s how to approach them:
- Refrigerator: Remove all food items, then wipe down the shelves with your multi-surface cleaner. Don’t forget to check for expired products!
- Oven: Use your cleaning solution and scrub the interior. A paste made of baking soda and vinegar can help lift stubborn stains.
- Microwave: Steam it with a bowl of water and vinegar to dissolve stains easier, followed by a good wipe down.
- Dishwasher: Run an empty cycle with a cup of vinegar to sanitize and clean it.
Surface Cleaning and Sanitization
Once your larger appliances are clean, it's time to focus on counters, backsplashes, and smaller kitchen items. A reliable multi-surface cleaner can aid in making this process quick and effective.
Countertops and Backsplashes
Spray your multi-surface cleaner generously over countertops and backsplashes and let it sit for a few minutes. This will help lift dirt and stains. After letting it sit, wipe it down thoroughly with a microfiber cloth for a streak-free finish.
Cabinets and Drawers
Cleaning cabinets can often be overlooked but is essential for achieving a truly deep clean. Use a damp cloth with your multi-surface cleaner to wipe down cabinet faces and knobs. Don’t forget to clean inside drawers, especially if you use them for utensils.
Sink and Faucets
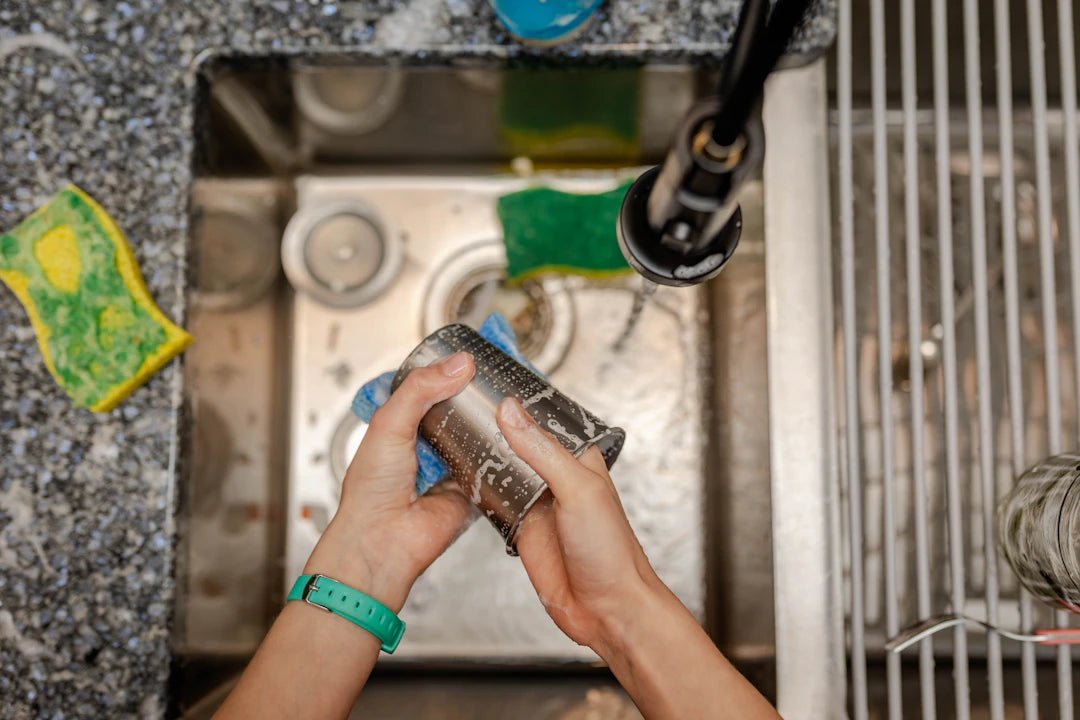
Your sink is one of the dirtiest spots in the kitchen! Use a dedicated sponge and your multi-surface cleaner to scrub inside the sink and around the faucet areas. A paste of baking soda can be particularly handy for dealing with stubborn stains.
Floor Cleaning Techniques
After the surfaces are clean, it’s time to tackle the floor! The type of flooring will determine your approach:
- Tile Floors: Mop with a mixture of warm water and your multi-surface cleaner. Pay special attention to grout lines.
- Hardwood Floors: Use a hardwood-specific cleaner or a diluted form of your multi-surface cleaner. Make sure to avoid soaking the wood.
- Vinyl Floors: A mop with a basic cleaning solution is appropriate. Rinse well after mopping.
Final Touches to Your Deep Clean
Now that the major cleaning tasks are done, it's time for those finishing touches!
Check Your Pantry and Organize
Go through your pantry and completely reorganize it. Keep similar items together, and consider using clear bins for better visibility. Clean spills from shelves, and rotate food items to simplify usage.
Clean Light Fixtures and Vents
Lastly, don't forget about your light fixtures and air vents. Dust these off with a microfiber cloth and your multi-surface cleaner to let the light shine bright and keep your air clear.
Maintain Your Clean Space
Now that your kitchen has undergone a thorough deep clean, the next step is to maintain it. Here are some tips:
- Daily Wipe Down: Spend a few minutes each day wiping kitchen surfaces with your multi-surface cleaner.
- Regular Decluttering: Aim to declutter your kitchen once a week to keep the area tidy.
- Schedule Periodic Deep Cleaning: Plan a deep clean every few months, adjusting to the level of use your kitchen sees.
Celebrating Your Sparkling Kitchen
Your kitchen is now a fresh and inviting space! Enjoy cooking and entertaining in an environment that reflects cleanliness and care. By incorporating routine cleaning using a powerful multi-surface cleaner, your kitchen will remain a delightful place to create culinary masterpieces.
Frequently Asked Questions
1. Why is deep cleaning the kitchen important?
2. What supplies do I need for deep cleaning my kitchen?
3. How should I prepare for a deep cleaning session?
4. What are the steps for deep cleaning kitchen appliances?
5. How can I maintain the cleanliness of my kitchen after a deep clean?
Glossary
| Term | Meaning |
|---|---|
| Deep Cleaning | A thorough cleaning process that targets dirt and grime in all areas. |
| Multi-Surface Cleaner | A cleaning solution effective on various surfaces, simplifying the cleaning process. |
| Declutter | To remove unnecessary items to create a tidy space. |
| Microfiber Cloth | A soft cloth that traps dust and dirt effectively. |
| Baking Soda | A natural abrasive used for cleaning and deodorizing. |
| Sanitize | To reduce germs and bacteria on surfaces. |
| Grout | The material used to fill gaps between tiles, often needing special cleaning. |
| Routine Cleaning | Regular maintenance tasks to keep spaces clean and organized. |
| Light Fixtures | Devices that hold light bulbs; should be cleaned to maintain brightness. |
| Air Vents | Grills that allow air circulation; cleaning helps improve air quality. |
Linked Product

Ultimate Home Cleaning Kit
The Ultimate Home Cleaning Kit provides a complete cleaning solution for various spaces in your home, from the kitchen to the office. This bundle includes multiple all-purpose cleaners in refreshing scents, along with travel-sized options for convenience. Additionally, the kit features specialized cleaning gel and scented sachets, ensuring your home stays spotless and pleasantly scented.
View Product
Share:
Mastering Home Cleaning: Organize Your Supplies Effectively
Essential Cleaning Hacks for Busy Families