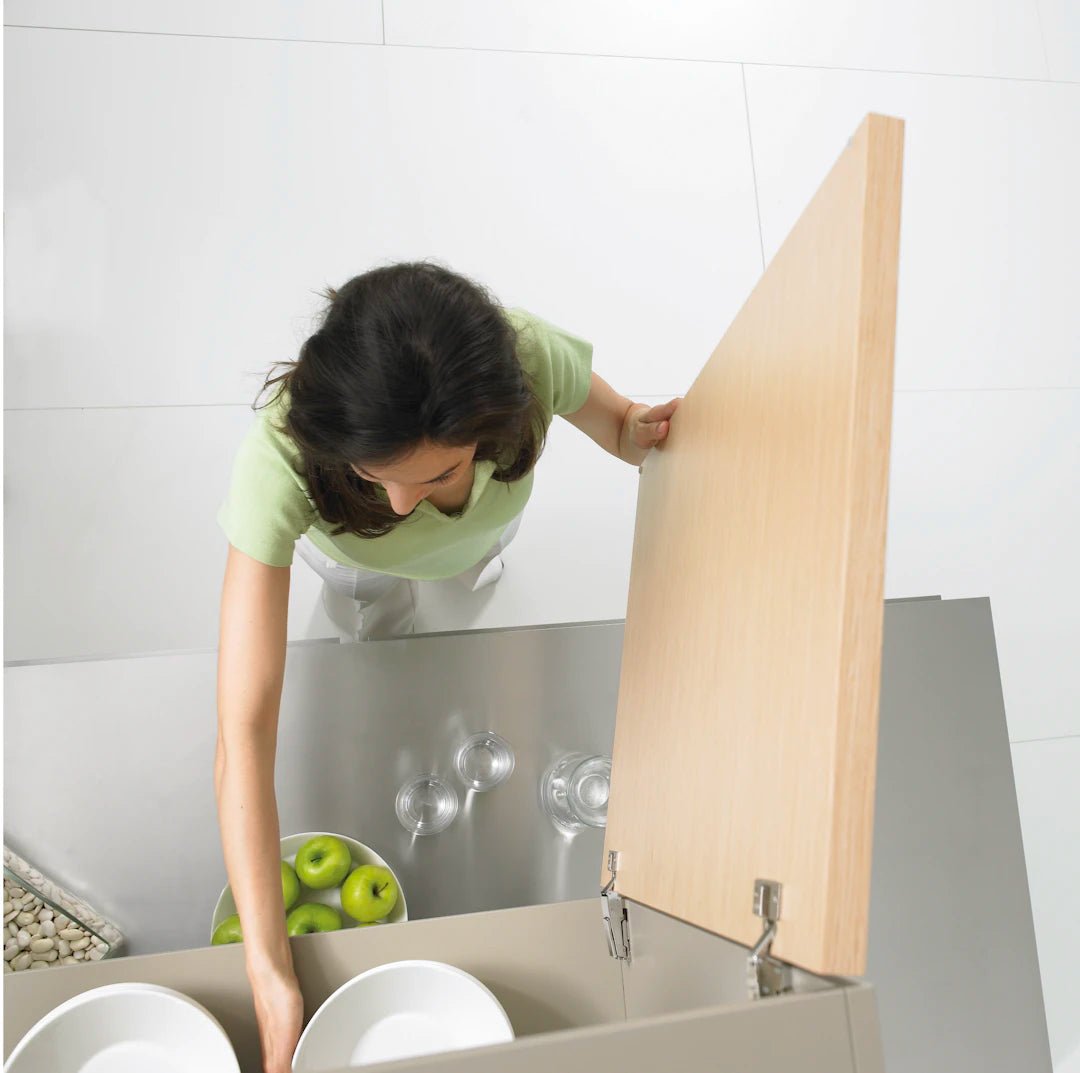
Keeping our homes clean is essential, but organizing cleaning supplies can often be a daunting task. Piles of bottles, rags, and brushes can clutter your space and make it harder to maintain cleanliness. At Gunk Getter, we believe that a streamlined cleaning supply organization not only makes your home look tidy but also enhances your cleaning efficiency. In this guide, we’ll dive into the step-by-step process of effectively organizing your cleaning arsenal for a more serene and productive environment.
The Importance of Organization
Before we begin the organization process, let’s explore why it’s important:
- Efficiency: Find what you need, when you need it. An organized collection of supplies saves you time during your cleaning sessions.
- Space Management: Clutters take up valuable storage. Clear out the mess and make room for the essentials.
- Safety: Properly storing cleaning supplies prevents accidents, especially in homes with children and pets.
- Stress Relief: A tidy supply area contributes to a more relaxed environment, making cleaning feel less of a chore.
Assess Your Cleaning Supplies
The first step in organizing is to assess what you currently have. This allows you to determine what to keep, what to toss, and what to organize.
Gather Everything
Start by collecting all your cleaning supplies from various locations in your home. Look in cabinets, closets, and under sinks. Bring everything into one centralized area, such as your kitchen counter or a large table.
Sort and Categorize
Now that you have all your supplies in one place, it’s time to sort them. Create categories that make sense for your cleaning routine. Here are some suggested categories:
- Surface Cleaners: All-purpose cleaners, glass cleaners, etc.
- Floor Cleaners: Mops, brooms, vacuum attachments, and specific floor cleaners.
- Bathroom Supplies: Disinfectants, tub and tile cleaners, and toilet bowl cleaners.
- Tools: Scrubbers, sponges, microfiber cloths, and brushes.
- Safety Gear: Gloves, masks, and goggles.
Decide What to Keep
While sorting, you might find some items you no longer need. Use the following criteria to decide what to keep:
- Expiration Dates: Check the expiration date on all cleaning products. If it has passed, it’s time to let it go.
- Condition: Discard any products that are empty, damaged, or leaking.
- Duplicates: If you have multiple items that serve the same purpose, consider keeping only one or two.
- Frequency of Use: If you haven’t reached for an item in months or years, it may be time to donate or dispose of it.
Choose Storage Solutions
Now that you have your essential items, it’s crucial to find suitable storage solutions that complement your cleaning habits and available space.
Under-Sink Storage
The space under your sink is a prime location for storing cleaning supplies. Consider using:
- Storage Bins: Clear bins help keep items visible and easily accessible.
- Over-the-Door Organizers: Make use of vertical space for storing smaller items.
- Drawer Organizers: Use these to keep tools and sponges compartmentalized.
Cupboards and Shelves
If you have extra cupboard space, consider allocating a shelf or section of a cupboard to your cleaning supplies.
- Lazy Susans: Place these on shelves for easy access to multiple products.
- Labels: Add labels to each shelf or container for quick identification.
- Bin Systems: Different bins can represent different categories, making organization effortless.
Portable Caddy
If you prefer cleaning on-the-go, consider creating a portable caddy. This allows you to move your essentials from room to room without hassle. You might use:
- Buckets: Large buckets can hold multiple items and help you carry them easily.
- Caddies with Handles: An excellent way to hold cleaning cloths, brushes, and smaller bottles.
Creative Organization Ideas
Let’s get creative! Here are some unique organization ideas that can help ease the cleaning process:
DIY Wall Storage
Creating your vertical storage can free up floor space. Use wall shelves, pegboards, or magnetic strips to keep bottles and tools in reach.
Use Clear Containers
Clear containers not only keep your supplies organized but also let you see exactly what you have at a glance. This will reduce the time spent searching for supplies.
Color-Coding
If you love a vibrant look, consider color-coding your supplies. Assign colors based on categories, which can add a fun and chic touch!
Maintain Your Cleaning Supply Organization
Once you’ve taken the time to organize, maintaining that organization is crucial for long-term success.
Regular Check-Ins
Schedule monthly check-ins to assess your supplies. Remove expired products and restock essentials as necessary. This helps keep your space tidy and your supply inventory updated.
Assign a Cleaning Day
Consider designating a specific day each month for deep cleaning your cleaning supplies area. This could involve dusting, wiping surfaces, and ensuring everything is in its place.
Involve the Family
Make cleaning supply organization a family activity. Have everyone pitch in to promote a clean and organized household, teaching responsibilities along the way.
Celebrate the Change!
Once you’ve organized your cleaning supplies, take a moment to appreciate the transformation. Not only have you cleared the clutter, but you’ve also made your cleaning process more efficient and enjoyable. An organized supply area means you can enjoy a clean home more effortlessly, and you’ll finally have a system that works for you!
By following these steps to organize your cleaning supplies, you’re creating an environment that fosters cleanliness. Remember, at Gunk Getter, we’re here to support you on your cleaning journey. Let’s keep your space clean, organized, and inviting!


Share:
Unlocking the Secrets: Understanding Different Types of Cleaning Products
Cleaning Tips for Busy Families: Mastering the Art of Quick & Efficient Home Care